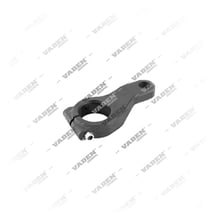
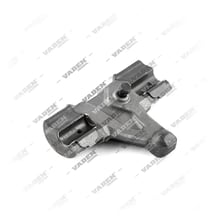
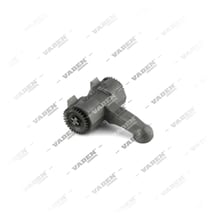
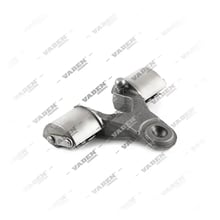
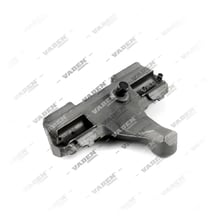
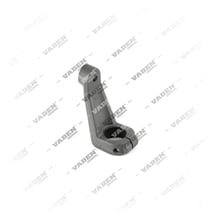
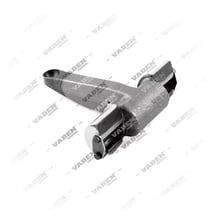
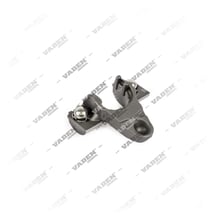
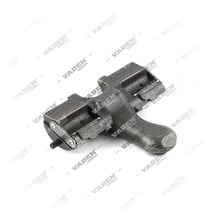
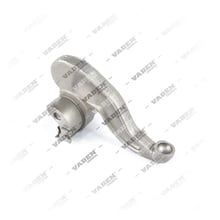
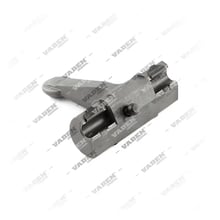
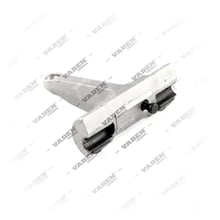
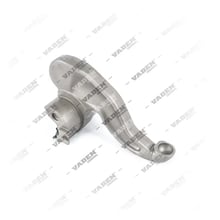
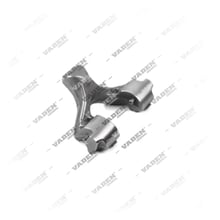
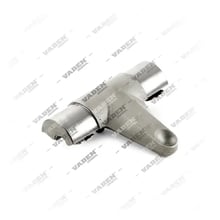
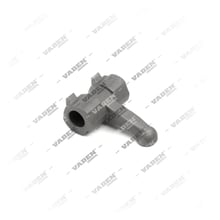
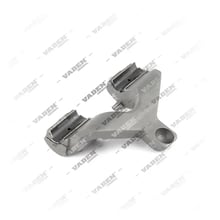
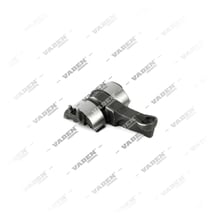
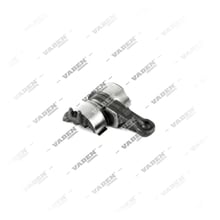
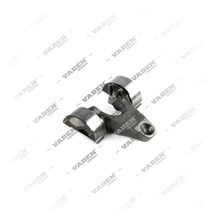
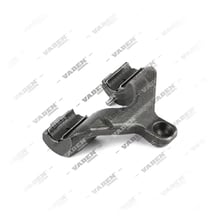
What Is the Actuating Lever?
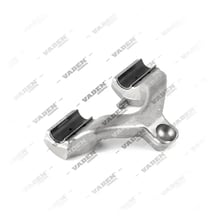
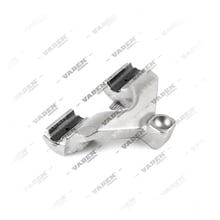
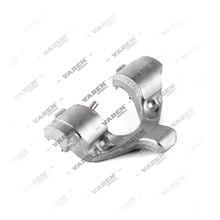
The actuating lever is the core mechanical assembly in the air disc brake calipers of heavy commercial vehicles that turns the linear thrust from the brake chamber into the eccentric rotation that presses the pads against the disc. Mounted on bearings inside the caliper housing, it carries the lever body, eccentric bearing, thrust pins, return spring and the adjuster drive end as one unit. In the field it is also called the eccentric lever or transmission lever. This sub-group under Brake Caliper covers not individual repair parts but complete units fitted whole in place of the old one.
How Does the Actuating Lever Work?
The actuating lever performs the force-multiplication task in the disc brake, turning the chamber's thrust into a much higher clamping force through its lever ratio and eccentric geometry. Friction at the bearing surfaces sets both efficiency and brake response time. The lever also drives the automatic adjuster, keeping the air gap constant as the pads wear.
- Force input: The chamber's push rod seats in the spherical socket at the lever's outer end and pushes it.
- Eccentric rotation: The eccentric hub at the lower end turns on the bearings, converting linear motion into axial clamping force.
- Force transfer: The force presses the inner pad through the thrust pins, and the outer pad via the caliper carrier.
- Auto-adjuster drive: The drive end advances the adjuster a small step per application, compensating for wear.
- Return: On release, the spring returns the lever to its start position; a lever that fails to return causes continuous contact and overheating.
Actuating Lever Technical Specifications
Complete actuating lever units are made from forged or high-strength cast steel built for high cycle counts and shock loads; bearing surfaces are hardened and corrosion-treated. Fit with the caliper is set not by one dimension but by several linked criteria. General ranges apply for torque and tolerances; for binding values, the manufacturer's current service manual is authoritative.
- Caliper family and generation: Lever geometry varies by caliper type; levers from calipers with the same disc diameter are not interchangeable.
- Lever ratio and eccentric offset: Lever length and offset set the clamping force; a different ratio upsets brake balance.
- Bearing type and bore size: Needle or roller-bushed bearings, plus bore diameter and width, are decisive.
- Adjuster interface: The drive end's type and position must match the caliper's automatic adjuster exactly.
Actuating Lever Types and Sub-Groups
Products differ by whether the caliper is single- or twin-piston, by left- and right-hand geometry, and by the unit's equipment level. Since outwardly similar levers can carry different lever ratios, measuring the removed part is essential.
- Complete actuating lever unit: Supplied with bearing, pin and spring already fitted; eliminates the risk of missing parts.
- Base lever with bearing: Includes only the lever and eccentric bearing surfaces; economical when other components are sound.
- Left- and right-hand variants: Eccentric direction and drive-end position are mirrored; mixed sides make the adjuster work backward.
- Single- and twin-piston caliper levers: Slim-body levers suit single-point calipers; more rigid ones suit two-point designs.
- Spring and bearing service kits: Used when the lever body is sound and only the spring or bearing surfaces are worn.
How to Choose the Right Actuating Lever
The most reliable approach starts from the OE number stamped on the removed lever or caliper; if unreadable, use axle type, disc diameter and caliper housing markings instead. Whether a full replacement or a repair kit is needed depends on where the damage sits, as summarized below.
Actuating lever selection and complete replacement vs. repair kit decision criteria| Criterion | How to Check | Decision |
|---|
| OE number | Number on the lever or caliper housing is compared against the catalog | If clear, match the complete unit |
| Eccentric bore | Bore diameter measured on two axes, checking for ovality | If oval, replace the complete unit |
| Lever body | Chamber socket and hub area inspected for cracks | No repair for cracks, unit must be renewed |
| Adjuster drive end | Tooth or tab at the tip checked for breakage | If damaged, replace unit; if sound, use a service kit |
| Side and lever ratio | Left/right variant and lever length compared with the removed part | If different, order the correct variant |
Actuating Lever Maintenance and Points to Note
Maintaining the actuating lever cannot be separated from caliper overhaul; small mistakes during replacement quickly send the new part to scrap too. For torques and grease types, the manufacturer's current service manual is authoritative.
- Clean assembly: The caliper interior must be cleaned; leftover pad dust and rust rapidly erode bearing surfaces.
- Correct grease: Use only the high-temperature grease specified by the manufacturer.
- Carrier and boot check: When renewing the lever, also check carrier pins, dust boots and seals.
- Staged tightening: Fasteners must be tightened in a cross pattern, within the manual's torque range.
- Post-assembly check: Pressurize the system and confirm the lever returns fully.
Common Faults and Solutions
Actuating lever faults are often blamed on the caliper as a whole, yet careful reading of symptoms pinpoints the source. When a problem shows on one wheel, check the opposite side too.
- One-sided pulling and weak braking: Binding in the eccentric bearing or a fatigued spring; check free play, renew the unit if it binds.
- Continuous contact and overheating: The lever not returning fully, or the adjuster locking up; assess lever and adjuster together.
- Tapered pad wear: Drive-end misalignment or wrong side variant; verify part number and side.
- Metallic knocking during braking: Play in the bearings or a thrust pin not seating; replace the unit if out of tolerance.
- Recurring failure: A leaking dust boot or a dirty caliper interior; renew sealing elements too.
Why VADEN ORIGINAL?
VADEN ORIGINAL actuating lever units are made using the original part's dimensions as reference; lever ratio, eccentric offset and interface dimensions are controlled to match OE geometry.
- Manufactured to OE dimensions: Critical surfaces and bearing bores are machined and hardened within the original tolerance range.
- Broad OEM coverage: Cross-matched with Wabco- and Knorr-Bremse-type caliper designs on Mercedes-Benz, MAN, Scania, Volvo, DAF and Iveco vehicles.
- Ready-to-fit unit: Supplied with bearing, pin and spring installed, cutting service time.
- Wide availability: A distribution network exporting to over 100 countries ensures steady supply.
Conclusion
The actuating lever is the critical part of the air disc brake caliper where force is multiplied and pad clearance is managed; its condition shows directly in braking distance and pad life. The complete units here are the safest fix once damage reaches the lever body or eccentric bore. Always verify selection through OE number, side and lever ratio.
Frequently Asked Questions (FAQ)
What does the brake caliper actuating lever do?
The actuating lever converts the linear thrust force from the brake chamber into a much higher clamping force through its eccentric geometry, pressing the pads against the disc. It also drives the automatic adjuster mechanism, keeping the gap between the disc and pad constant as the pads wear. As a result, the lever's condition directly affects both braking distance and pad life.
Should I replace the actuating lever completely, or is a repair kit enough?
The decision depends on where the damage is located. If there is a crack in the lever body, ovality in the eccentric bore, or breakage at the adjuster drive end, a complete actuating lever unit must be fitted. If the damage is limited to a fatigued return spring or superficial bearing wear, a spring and bearing service kit is an economical solution.
What are the symptoms of a faulty actuating lever?
The most common symptoms are one-sided pulling, weak braking, the caliper overheating from continuous contact, and tapered pad wear. Metallic knocking heard during braking also points to bearing play. When any of these symptoms appear, the caliper should be opened and the lever, spring and adjuster group evaluated together.
How do I match the correct actuating lever?
The most reliable approach is to work from the OE number on the removed lever or caliper housing. If the number cannot be read, axle type, disc diameter, caliper family, lever length and eccentric offset, and the left/right side variant must be compared against the removed part. Fitting a lever with a different lever ratio upsets the brake balance across the axle.
What is the most common mistake when replacing the actuating lever?
The most common mistake is fitting the new lever without fully cleaning the inside of the caliper or renewing leaking dust boots; in that case, the new unit also wears out quickly. Mixing up the left- and right-hand variants is also common, causing the automatic adjuster to work in the wrong direction. For tightening torques, the vehicle manufacturer's current service manual is authoritative.
Related technical guide: Steering Drag Link & Tie Rod: Faults, Replacement, Care