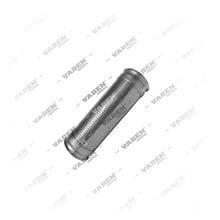
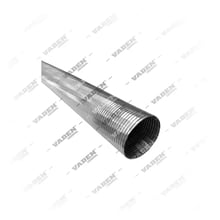
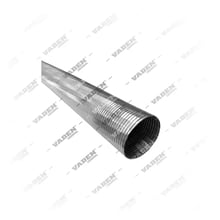
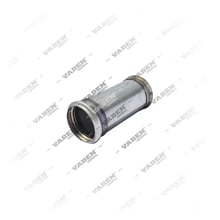
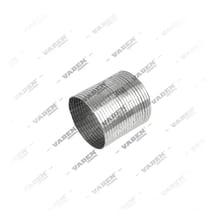
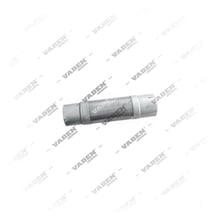
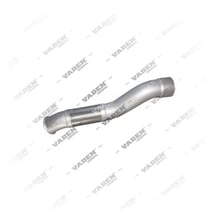
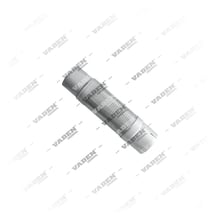
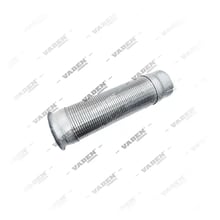
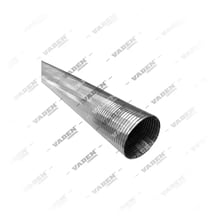
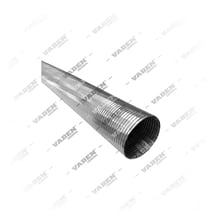
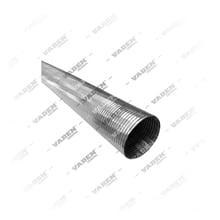
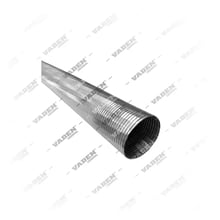
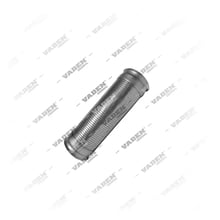
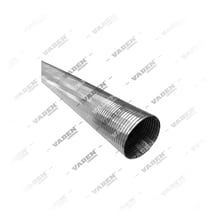
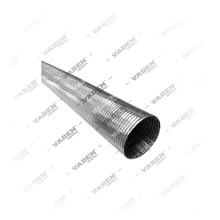
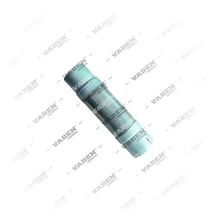
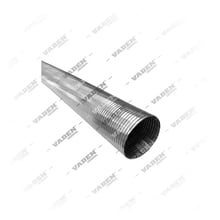
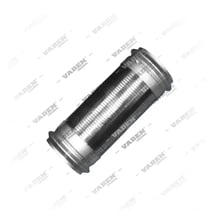
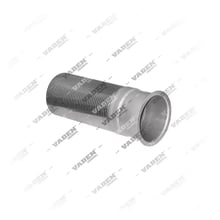
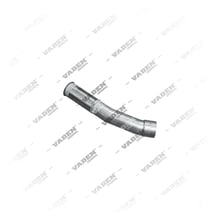
What is an exhaust system flex pipe?
Its construction is multi-layered. Inside, there may be a liner or interlocked winding that guides gas flow and reduces flow noise. The middle layer is the bellows or spiral winding that provides the actual flexibility. The outer layer is a braided steel mesh; this braid both limits excessive flexing and protects the bellows against stone impact and external blows. The ends have a flange, a plain pipe end, or a coupling depending on the vehicle. Stainless steel alloys that withstand high temperature and the acidic effect of exhaust condensate are used as material. The exhaust system flex pipe is one of the most fatigued and most frequently replaced parts of the line, because it is simultaneously exposed to high temperature, vibration, and constant repeated expansion-contraction motion.
The exhaust system flex pipe is not merely a part that joins two pipes; it is an isolation element that determines the mechanical life of the line.
What are the functions of an exhaust system flex pipe?
- Vibration isolation: Separates the vibration of the engine, which oscillates on its mounts, from the exhaust line fixed to the chassis. Without this isolation, vibration is transmitted directly to the pipes, muffler, and emission module clamps.
- Absorbing engine movement: On takeoff, during gear shifts, and under high torque the engine leans noticeably on the block. The flex absorbs this angular and axial movement.
- Compensating thermal expansion: The exhaust line elongates as it goes from cold to operating temperature. The flex absorbs this elongation by flexing, otherwise stress accumulates at flanges and weld seams.
- Installation tolerance: Compensates for small misalignments between the turbo outlet and the continuation of the line, allowing alignment without forcing the installation.
- Noise and structure-borne sound reduction: Reduces the transmission of engine-generated structural noise into the cabin via the chassis.
- Sealing: Retains hot exhaust gas within the line; in the event of a leak, the aftertreatment system and sensor readings are directly affected.
What are the symptoms of an exhaust system flex pipe failure?
Deterioration in the exhaust system flex pipe usually progresses gradually; if early symptoms are caught, the rest of the line is protected.
- Metallic hissing and blowing noise: A sharp leak sound that becomes more pronounced on cold start and under load, and increases when the throttle is applied, is the most typical symptom.
- Soot marks: A black soot streak on the mesh or around the flange shows the location of the leak.
- Disintegrating mesh wire: Broken, bulging, or frayed wires on the outer braid indicate an advanced stage of fatigue.
- Exhaust smell in the cabin: If the leak is close to the cabin air intake, the smell is noticed inside. This should not be neglected, as it is a safety warning.
- Increased vibration: If the flex hardens or the internal interlock locks up, engine movement is transmitted into the line; cracking begins at clamps and hangers.
- Emission system warnings: Because the leak changes in-line pressure and gas composition, inconsistency may appear in differential pressure, temperature, or NOx readings, and DPF regeneration problems may occur.
- Performance impression: With large leaks, a change in turbo sound, a drop in pulling power, and increased fuel consumption may be reported.
How is an exhaust system flex pipe checked?
Inspection should always be performed when the engine is completely cold and the vehicle is safely secured. Exhaust surfaces remain hot for a long time.
- Visual inspection: The entire circumference of the flex is scanned with a flashlight. Broken wire in the mesh, dents, cracks, and excessively stretched or excessively compressed geometry are looked for.
- Soot tracking: Flange joints, weld seams, and the area under the mesh are wiped with a dry cloth; after a short run, they are checked again for new soot formation.
- Leak detection: The sound source is narrowed with a listening rod at idle. If pressure-drop or smoke testing is available, it gives a pinpoint result.
- Freedom check: On a cold engine, the flex is gently moved by hand; a flex that has hardened like stone and does not flex at all is not doing its job.
- Fasteners: Loose flange bolts, clamp deformation, gasket crushing, and torn hanger rubber are checked. A broken hanger overloads the flex and causes it to fail again quickly.
- Neighboring parts: If the engine mounts are fatigued, engine movement increases and the flex wears out faster than normal; mount condition must always be assessed together.
What should be watched for during replacement?
The life of the exhaust system flex pipe depends largely on installation discipline. A correct part installed incorrectly can break within a few thousand kilometers.
- Cold work: The engine and line must be completely cooled; if working around the turbo and emission module, the battery should be disconnected and sensor connectors protected.
- Removal: Penetrating oil is applied to rusted bolts, and controlled heating is done if necessary. The proximity of fuel, air, and electrical lines is checked beforehand.
- No twisting: The flex must never be installed with torsion (twisting). Twisted installation is the mistake that most shortens the life of the mesh and bellows.
- No length forcing: The part must not be stretched or compressed to fit. If the length does not match, the wrong reference has been selected.
- Free alignment: All connections are first left loose, the line is aligned freely, then tightened in order from the engine toward the muffler.
- Gasket and hardware renewed: The flange gasket, and bolts/nuts/clamps if needed, are renewed at every replacement. A deformed gasket leaks again quickly.
- Staged and cross-pattern tightening: Bolts are tightened in cross order and in stages. The torque value is taken from the vehicle manufacturer's current OE service manual; if no manual is available, a torque wrench should be used—not a screwdriver feel—so the flange surface is not crushed.
- Protection from welding current: If welding will be done nearby, chassis grounding should be taken from the point closest to the weld; current passing through the flex mesh burns the mesh.
- Hangers and mounts: Torn hanger rubbers are replaced in the same operation, otherwise the new flex carries the entire weight of the line.
- Final check: The engine is started and warmed up; after the line expands, leaks and contact (pipes rubbing against the chassis or cables) are checked again.
How is an exhaust system flex pipe selected?
Selection should be based not on visual resemblance but on dimensions and connection geometry. Different flex pipes may be used on the same vehicle depending on engine type, chassis length, and emission level. Therefore the part should be verified via the OE number tied to the vehicle's chassis number. OE numbers from vehicle manufacturers such as Mercedes-Benz, MAN, Volvo, Scania, DAF, and Iveco can be used as reference; selection should be based on OE number and dimensional match, not brand name.
Exhaust system flex pipe selection and inspection points| Criterion | How to verify | Warning |
|---|
| Inner diameter | Measure the old part's pipe end, compare with the OE number | An approximate measure is not acceptable; it causes leaks and vibration |
| Total length | Measured free-state between connection surfaces | A short part works constantly under tension and fails early |
| Connection type | Distinguish flanged, plain-end (clamped), or coupled | Check flange hole count and spacing between holes |
| Mesh and body structure | Compare single/double layer, internal interlock or bellows structure | A part that looks more flexible is not always more durable |
| Material class | Query the stainless alloy grade and temperature resistance | Low-grade material perforates quickly in the condensation zone |
| Location | Determine whether it is at the turbo outlet or before the emission module | The same vehicle may have more than one different flex |
| Tightening torque | Taken from the vehicle manufacturer's current OE service manual | A general range is only a guide; the manual is authoritative |
| Auxiliary parts | Gasket, bolts, clamp, and hanger rubber planned together | Installation with the old gasket will call for work again |
Maintenance and service life
The exhaust system flex pipe has no fixed replacement interval; its life varies widely depending on operating conditions. In construction, mining, and rough-road use, engine movement and shock load increase, so life is noticeably shortened. In short-distance, stop-heavy urban use, condensation caused by the line not fully warming up accelerates corrosion.
A practical approach is to include the flex in the routine inspection item of periodic maintenance. Visual inspection at every oil service and evaluation together with hanger rubbers and engine mounts at every major service is recommended. If a newly installed flex on a vehicle with fatigued engine mounts fails again quickly, the root cause is not the flex but the enlarged movement.
Practices that extend life: proper hanging of the line, timely tightening of a loose clamp, addressing a leak while small, and not subjecting the flex to torsional load during modifications made to the line. Postponing a small leak often leads to burning of the flange surface and replacement of neighboring pipes as well.
VADEN exhaust system flex pipe
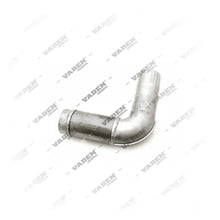
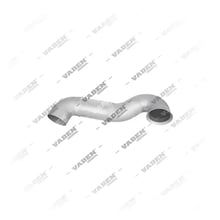
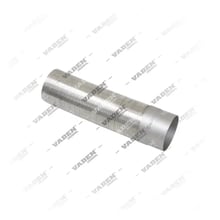
The VADEN exhaust system flex pipe product group includes options in different diameters, lengths, and connection types for heavy commercial vehicle applications; numerous references exist in the 358.10 and 358.52 code series. When determining the correct part for your vehicle, you can use the filters within the category and search by OE number to verify dimensions and connection geometry. For applications you are unsure of, consulting our technical team with the chassis number and the number on the existing part ensures the correct reference is found the first time.
Frequently Asked Questions (FAQ)
What does the exhaust system flex pipe do?
The exhaust system flex pipe isolates the engine's vibration and movement from the exhaust line fixed to the chassis, absorbs the line's thermal expansion, and compensates for small axial misalignments during installation. This prevents stress buildup and cracking at the pipe, flange, muffler, and emission module connections.
What symptoms appear when the exhaust flex fails?
The most typical symptom is a metallic hissing or blowing sound that increases with throttle application. This is accompanied by soot marks around the mesh, exhaust smell in the cabin, increased vibration, broken wires in the outer mesh, and in some vehicles warnings related to the aftertreatment system. If a smell is noticed in the cabin, the vehicle should be checked immediately.
Can an exhaust flex be repaired by welding?
It is not a permanent solution. Welding locally kills the flexible structure's ability to move and shifts stress to the neighboring point; the part usually fails again quickly. Also, welding current passing through the mesh burns the wires. The correct approach is replacement with a new flex of the correct size and connection type.
What torque value should be used when replacing the exhaust flex?
The tightening torque varies according to flange type, bolt size, and vehicle model. Therefore the value should be taken from the vehicle's current OE service manual. General practice is to tighten the bolts in cross order and in stages with a torque wrench, and to renew the gasket at every replacement.
What should I look for when choosing an exhaust flex?
Inner diameter, total free-state length, connection type (flanged, clamped, or coupled), flange hole count and spacing, body/mesh structure, and location in the line are decisive. Selection should be made based on the vehicle's chassis-number-linked OE number and dimensional match, not brand name.
Related technical guide: Exhaust Flex Pipe: Faults, Replacement and Maintenance Guide