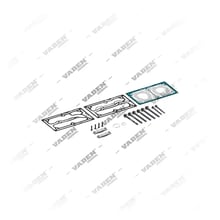
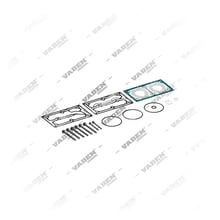
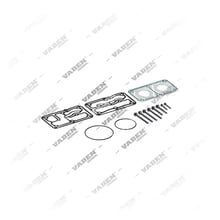
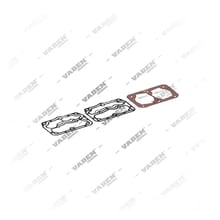
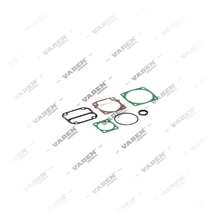
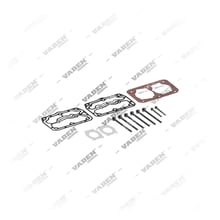
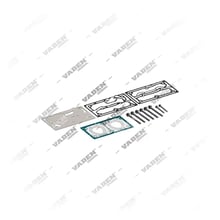
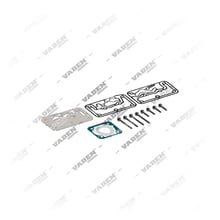
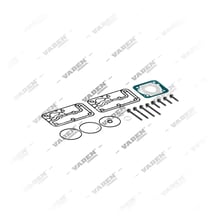
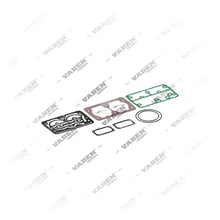
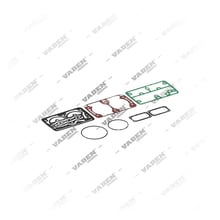
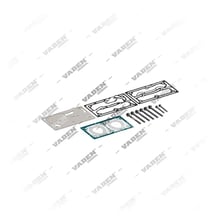
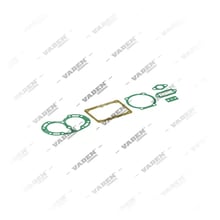
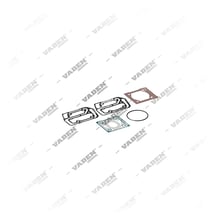
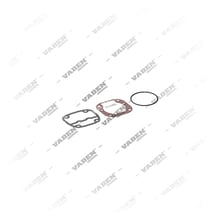
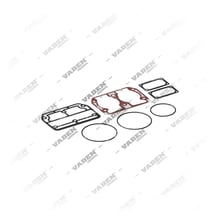
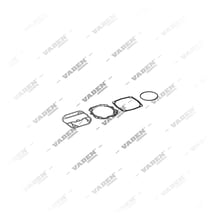
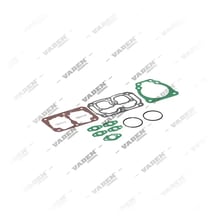
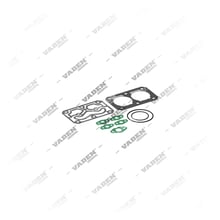
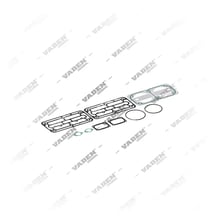
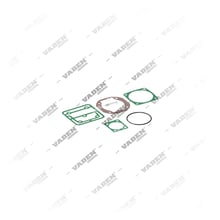
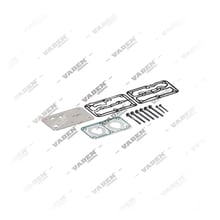
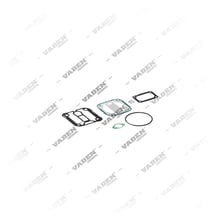
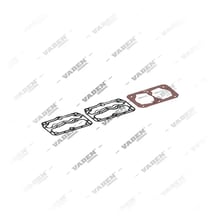
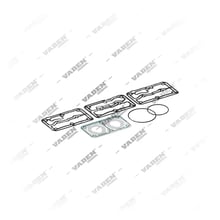
What is a compressor gasket kit?
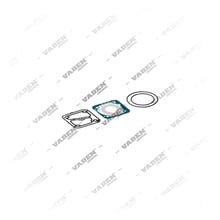
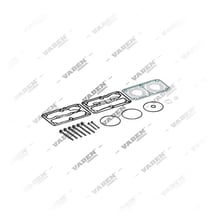
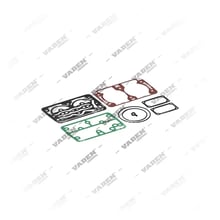
A compressor gasket kit typically contains the cylinder head gasket, valve plate top and bottom gaskets, crankcase gasket, block-flange gasket, oil return and cooling water passage gaskets, and the crankshaft seal along with the necessary O-rings. The purpose of the kit is that no surface is resealed with the old gasket during reassembly after the compressor is disassembled. Because the air brake compressor operates depending on engine speed, it is under continuous pressure and temperature cycling; therefore every removed sealing element is considered single-use and is renewed collectively with the compressor gasket kit.
The compressor gasket kit differs by compressor type. Single-cylinder and twin-cylinder compressors do not have the same surface count and gasket geometry; in air-cooled and water-cooled housings, additional cooling circuit gaskets are also involved. Therefore kit selection is always made via the compressor's type/OE number.
What are the functions of the compressor gasket kit?
Although the gasket kit may appear passive, it directly determines the efficiency of the air brake system. Whether the entire pressure produced by the compressor reaches the air dryer and tanks depends on the integrity of the gaskets.
- Pressure sealing: Separates the compression and discharge volumes between the cylinder head and valve plate; prevents the compressed air from leaking back to the intake side.
- Oil sealing: Prevents pressurized engine oil on the crankcase/crankshaft side from leaking out and from being carried into the air line from inside the compressor.
- Cooling circuit separation: In water-cooled housings, prevents cooling water from mixing into the oil and air volumes.
- Surface tolerance compensation: Fills micro irregularities between the cast housing and head, ensuring even distribution of clamping load.
- Thermal barrier: Forms a controlled separation between the high-temperature post-compression air and the housing, reducing head warping.
- Service repeatability: Ensures all surfaces are renewed to the same quality during overhaul, eliminating the risk of repeated leakage caused by partial gasket replacement.
What are the symptoms of a compressor gasket kit failure?
Gasket leaks are often mistaken for compressor failure. The following symptoms, observed when the vehicle arrives at the service, point directly to the gasket kit.
- Lengthened pressure rise time: Tank fill time rises above normal, and the compressor stays continuously under load.
- Oil sweating on the compressor housing: Oil traces and a dust-oil mix buildup are seen along the head, crankcase, or flange joint line.
- Oil carried into the air line: Early saturation of the air dryer cartridge, oily water at tank drainage, sticking in valves.
- Cooling water loss: In water-cooled compressors, a drop in level without a visible external leak; emulsion forming in the oil.
- Hot air blowing on the intake side: Compressed air leaking back to the intake side due to a punctured valve plate gasket.
- Abnormal heating and whistling sound: A thin whistle from the head joint caused by pressurized air leakage and local overheating.
- More frequent compressor cutoff cycling: The regulator switching between load and unload much more often than normal.
How is the compressor gasket kit checked?
The check should be initiated from the system side before immediately disassembling the compressor. This separates whether the leak is coming from the gasket, the valve group, or the air dryer.
- Fill time measurement: At a steady speed above idle, the time for the tanks to reach a set pressure is recorded and compared to the reference time given by the vehicle manufacturer.
- Foam test: While the engine is running, foam is applied to the head, crankcase, and flange joint lines; bubble formation indicates a gasket leak.
- Visual trace tracking: The uppermost point where oil leakage starts is cleaned and, after a short run, checked again to determine the source line.
- Surface flatness: When the compressor is disassembled, the head and housing surfaces are checked with a straightedge and feeler gauge; if warping is present, the new gasket will also leak quickly.
- Bolt tightness check: Whether the head bolts have loosened is checked with a torque wrench; if loosening recurs, the gasket has been crushed.
- Oil and water analysis: The condition of internal passage gaskets is assessed by checking for water in crankcase oil and oil traces in cooling water.
What should be watched for during replacement?
The most common cause of failure in compressor gasket kit replacement is not the gasket itself but installation error. Before disassembly, air pressure must be released, the cooling circuit drained, and work done on a cold compressor.
- Surface cleanliness: Old gasket residue is removed with a plastic scraper and suitable cleaner instead of a steel scraper; no scratches should be left on the cast surface.
- Use the entire kit: Even gaskets that look sound should not be reinstalled; all elements in the set are renewed.
- Correct orientation: On valve plate gaskets, the direction marking must be followed so oil and air passage holes are not blocked; a reversed orientation damages the compressor on first run.
- Sealant: Unless the manufacturer states otherwise, sealant is not applied to metal-to-metal gaskets; excess sealant can block passage holes.
- Staged torque: Head bolts are tightened in cross order in at least two stages. The torque value varies by compressor type; the vehicle's current OE service manual is authoritative.
- Crankshaft seal installation: The seal lip is lubricated and seated without bending, using a suitable guide.
- First start: After installation, the compressor is turned unloaded to establish oil circulation, then rechecked for leaks under pressure.
- Surrounding elements: Intake line filter, air dryer cartridge, and discharge pipe condition are evaluated together; a dirty intake also fatigues the new gasket quickly.
How is the compressor gasket kit selected?
The correct kit is determined by the type label and OE number on the compressor. Original equipment manufacturer numbers such as Wabco, Knorr-Bremse, Bendix, and vehicle numbers such as Mercedes-Benz, MAN, Volvo, DAF, Scania, Iveco are used as reference. Select based on OE number and compressor type, not brand name; a different compressor housing may have been used in different production years on the same vehicle.
Compressor gasket kit selection and inspection points| Inspection point | What is checked | General assessment |
|---|
| Compressor type | Single- or twin-cylinder housing | Cylinder count determines the number of head and plate gaskets in the kit |
| Cooling type | Air-cooled / water-cooled | Water-cooled requires additional cooling circuit gaskets |
| OE number | Compressor label and housing casting number | Primary reference for kit matching |
| Surface flatness | Head and housing contact surface | If measurable warping exists, gasket replacement won't be permanent without surface machining |
| Gasket material | Metal-reinforced or composite structure | The discharge side requires a type resistant to high temperature |
| Bolt tightening torque | Staged and cross tightening | Value varies by compressor; the vehicle's current OE service manual is authoritative |
| Kit contents | Presence of seal and O-ring | A kit including seals is preferred for a full overhaul |
Our product group offers gasket kit options with different content for single- and twin-cylinder, air- and water-cooled compressor housings. Confirming the correct kit by providing the compressor code prevents having to disassemble a second time due to the wrong kit.
Maintenance and service life
The life of the compressor gasket kit is directly related to the compressor's operating conditions. High load cycling, dirty intake air, excessive oil carryover, and insufficient cooling are the main factors that shorten gasket life. In a healthy system, the gasket kit serves throughout the compressor's overhaul interval; in general practice, the gasket kit itself is not a periodically replaced part but a service set that is always renewed whenever the compressor is disassembled.
To extend life, keeping the intake filter clean, changing the air dryer cartridge at the manufacturer's interval, and timely renewal of engine oil are critical. Moisture accumulated in the system due to dryer saturation leads to corrosion on valve and gasket surfaces. Also, regular drainage of water from the tanks reduces gasket strain caused by back pressure.
In periodic maintenance, visual inspection of the compressor housing for oil sweating, torque checking of the head bolts, and fill-time measurement are three simple but effective steps. These three checks catch gasket leakage before the compressor becomes completely inefficient. Delaying once a leak is detected leads to oil being carried into the air line, damaging the dryer and valves as well, which multiplies the repair cost.
VADEN compressor gasket kit
Drawing on its experience in air brake compressor manufacturing, VADEN designs gasket kits in the compressor parts group according to housing geometry and operating temperature. Kits are contented to offer together all sealing elements needed during overhaul; this way there is no waiting at the service due to a missing part. By specifying your compressor type or OE number, you can select the appropriate gasket kit from the list and consult our technical team for compatibility verification.
Frequently Asked Questions (FAQ)
Is the compressor gasket kit changed only if there is a leak?
No. Whenever the air brake compressor is disassembled for any reason, the gasket kit must always be renewed. Removed gaskets are single-use; even if they look sound, they have lost compression load and will leak again quickly upon reassembly. Therefore the entire compressor gasket kit must be used whenever the valve plate, cylinder head, crankcase, or flange is opened.
What torque should compressor head bolts be tightened to?
The torque value varies by compressor type, bolt diameter, and housing material; a single general value cannot be given. The practice rule is to tighten bolts in cross order from inside out, in at least two stages. For the exact torque and tightening sequence, the vehicle's or compressor's current OE service manual is authoritative.
Can oily water from the air tank be caused by the gasket kit?
Yes, this is one possible cause. Deterioration of the crankcase and valve plate gaskets causes engine oil to be carried into the discharge line. However, the same symptom can also be caused by worn piston rings, a saturated air dryer cartridge, or a blocked oil return line. For correct diagnosis, fill time measurement, foam test, and dryer condition should be evaluated together.
Is the same gasket kit used for water-cooled and air-cooled compressors?
No. Water-cooled housings have additional gaskets separating the cooling water passage channels, and the head geometry is different. If a kit for an air-cooled housing is installed on a water-cooled compressor, water mixes with the oil or air volume. Selection should always be based on the compressor's cooling type and OE number.
Is vehicle brand sufficient when choosing a gasket kit?
Not sufficient. Different compressor housings may have been used on the same vehicle model depending on production year and engine option. The type information and OE number on the compressor label should be used for the correct kit. Our product group offers different content options for single- and twin-cylinder, air- and water-cooled housings; confirming compatibility by providing the compressor code is the safest way.
Related technical guide: Truck Air Compressor Overhaul Kit: Head, Valve Plate, Gasket