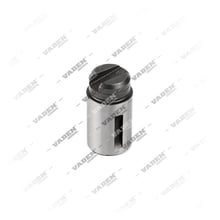
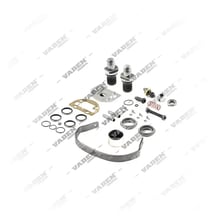
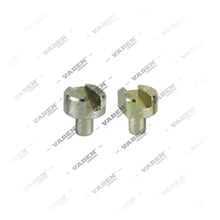
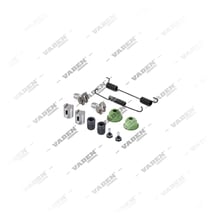
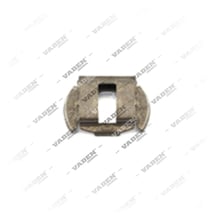
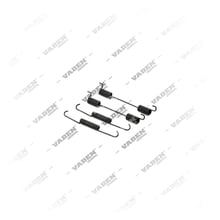
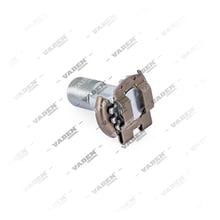
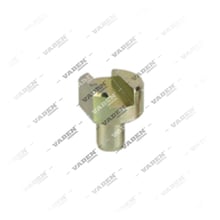
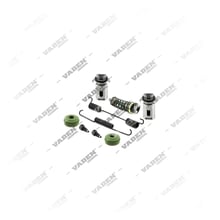
What is a caliper mechanism repair kit?
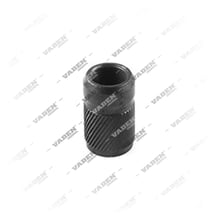
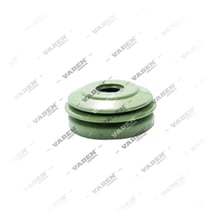
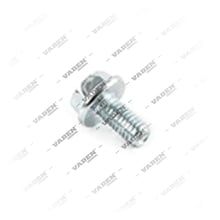
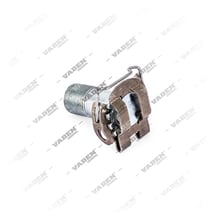
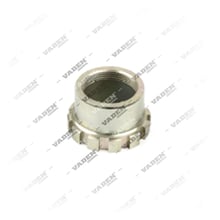
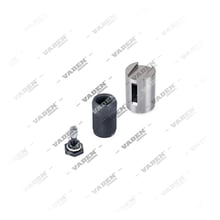
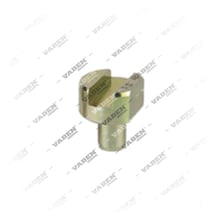
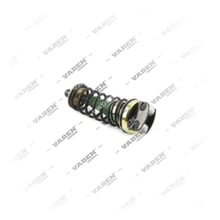
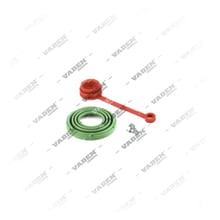
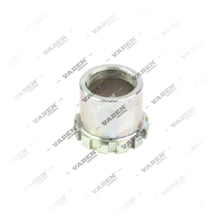
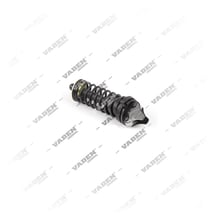
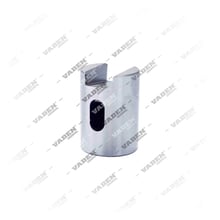
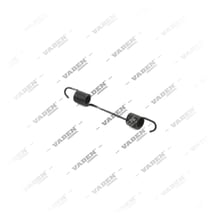
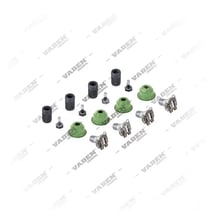
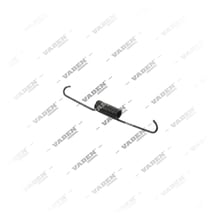
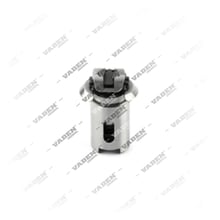
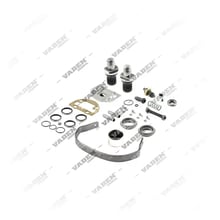
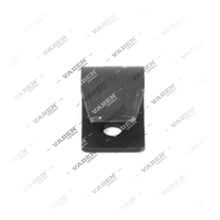
In an air disc brake, the thrust force coming from the chamber is amplified by the eccentric-bearing lever inside the caliper and transmitted to the pressure bridge and pad. The same mechanism also houses the adjustment chain that automatically takes up clearance as the pad wears. The caliper mechanism repair kit covers the parts that keep these two functions running: needle bearings, eccentric bearing half-shells, thrust pins, adjuster sleeve elements, springs, sealing bellows, seals and gasket group, and small fasteners.
Our product group offers caliper mechanism repair kit options suitable for different caliper families; each reference is prepared according to the internal geometry of a specific caliper series and does not accept mixing of series.
What are the functions of the caliper mechanism repair kit?
The parts within the set do not work alone but as a complementary chain:
- Force amplification: Renews the elements that amplify the thrust force coming from the chamber via the eccentric-bearing lever and transmit it to the pressure bridge and pad.
- Automatic clearance adjustment: Puts back the adjuster group elements that ensure the increasing pad-disc clearance is taken up with each brake application as the pad wears.
- Reducing friction loss: The needle bearing and bearing shells ensure the mechanism operates with low friction, providing stable brake response.
- Sealing: The bellows, seal, and gasket group prevent water, road salt, mud, and brake dust from entering the mechanism cavity. Most failures are triggered not directly by wear but by the corrosion that follows loss of sealing.
- Return capability: Spring and pressure elements ensure the mechanism returns to neutral position when the brake is released; if this return is disrupted, the pad continues to rub against the disc.
What are the symptoms of a caliper mechanism repair kit failure?
Mechanism failure shows itself gradually rather than all at once:
- One-sided pad wear: If the inner and outer pad thicknesses on the same caliper differ noticeably, the adjustment mechanism may be sticking.
- Brake dragging and heating: Excessive rim heating, discoloration (blueing) on the disc surface, and the pad not separating from the disc show loss of return.
- Late brake engagement: If automatic adjustment is not working, pad-disc clearance grows, brake response is delayed, chamber stroke increases.
- Tear and moisture marks on the bellows: If there is a crack, tear, or bulge in the rubber bellows, water is considered to have entered the mechanism.
- Sound and play: A metallic ticking or impact sound during braking indicates increased mechanism play.
- Adjuster shaft unresponsiveness: If a proper back-turn cannot be performed per procedure, or the shaft spins freely, the adjuster group is damaged.
How is the caliper mechanism repair kit checked?
The check is performed after the vehicle is secured, air pressure drained, and the wheel removed:
- Visual inspection: Bellows, seal, and plug integrity are checked; a torn bellows alone is grounds for kit replacement.
- Pad thickness difference: Inner and outer pads are measured, and a noticeable difference points to the mechanism.
- Clearance measurement: Pad-to-disc clearance is checked with a feeler gauge; the acceptable range varies by caliper series and the vehicle's current OE service manual is authoritative.
- Adjustment function test: The adjuster shaft is expected to advance a small angle over several brake applications; if there is no advance, the adjuster group is sticking.
- Lever freedom: With the chamber removed, the mechanism lever is expected to move by hand and return in a spring-like fashion.
- Disc and guide check: A disc with excessive runout or a jammed guide will cause the failure to recur even if the mechanism is renewed.
What should be watched for during replacement?
Installation is a process requiring cleanliness and sequencing discipline:
- Pressure drainage: The air tank must be drained before work begins, the vehicle chocked, and the spring chamber mechanically released.
- Use the entire kit: Seals, bellows, and safety elements are single-use; reinstalling the old part disrupts sealing.
- Cleaning: The mechanism cavity is cleared of rust, old grease, and debris, and dried after washing.
- Correct grease: Only the high-temperature-resistant grease specified for the caliper mechanism is used. Excess grease swells the bellows, insufficient grease shortens bearing life.
- Tightening torques: Cover, plug, and adjuster group torques differ by series; instead of an estimated value, the value in the vehicle's current OE service manual should be used, applied with a torque wrench.
- Axle equality and final check: The same procedure should be applied to both sides of the same axle; after installation, clearance adjustment should be done, chamber stroke measured, and heating checked with a low-speed brake test.
How is the caliper mechanism repair kit selected?
The caliper mechanism is produced in numerous series that look similar from outside but have different internal dimensions. Therefore selection should be based not on brand but on the caliper type label and OE number. The casting number and type label on the housing should be read and matched with the OE reference of the vehicle manufacturer (Mercedes-Benz, MAN, Volvo, Scania, DAF, Iveco) or the brake system manufacturer (Wabco, Knorr-Bremse, Bendix). Since different caliper series may be found on different axles of the same vehicle, checking should be done axle- and side-specific.
Caliper mechanism repair kit selection and inspection points| Inspection point | Why it matters | How verified |
|---|
| Caliper series and type | Internal geometry is series-specific | Type label and casting number on housing |
| OE reference number | Number match, not brand, is binding | OE list of vehicle or brake system manufacturer |
| Right / left side | Mechanism direction is not symmetric | Lever exit direction and mounting position |
| Kit scope | An incomplete kit leaves the old seal in place | Compare package contents with removed parts |
| Pad-disc clearance | Shows the adjuster group is working | Feeler gauge measurement; acceptance value in OE service manual |
| Tightening torque and grease | Wrong torque or grease causes premature damage | Torque wrench and manufacturer grease specification |
Maintenance and service life
The most important factor determining life is sealing: as long as bellows integrity is preserved, the mechanism can operate trouble-free for years; once the bellows tears, sticking begins quickly due to water and salt ingress. For this reason, bellows and seal inspection should be done together with pad measurement at periodic maintenance. Heavy load, long downhill descents, stop-start traffic, and winter road salt are the main conditions that shorten life; the inspection interval should be shortened for these vehicles. Pad replacement sessions are the most convenient moment to examine the mechanism. In the first few hundred kilometers after replacement, rim temperature, pad clearance, and bellows condition should be rechecked.
VADEN caliper mechanism repair kit
VADEN brings its manufacturing experience in heavy commercial vehicle brake systems to caliper repair groups as well. Our caliper mechanism repair kit product group offers options prepared to include the sealing and connection elements needed for installation, suitable for different caliper series. Having the caliper type label and OE number ready when determining the correct reference shortens selection time and eliminates the risk of incorrect ordering.
Frequently Asked Questions (FAQ)
Is the caliper mechanism repair kit the same as a caliper repair kit?
No. Caliper repair kit is a general term and can refer to any of the guide, piston-chamber, or mechanism groups. The caliper mechanism repair kit is specifically for renewing the force transmission and automatic adjustment mechanism inside the caliper housing; it includes needle bearings, eccentric bearing shells, thrust pins, adjuster sleeve elements, springs, and sealing group. For different failures such as guide sticking or bellows tearing, the relevant other sets are used.
When is a complete caliper replacement needed instead of a mechanism repair kit?
If there is a crack, dent, excessive corrosion, or thread damage in the caliper housing, if the mechanism cavity has become oval, or if the guide holes are worn, the mechanism repair kit will not be a solution; complete caliper replacement is needed. If the housing is sound, the guides work, and there is only sticking in the adjustment or lever group, repair with the mechanism repair kit is both technically correct and economical. The decision should be made after examining the cleaned housing after disassembly.
How do I choose the correct caliper mechanism repair kit?
Selection is made not by aftermarket brand but by the caliper's type label and OE number. Read the casting number and type label on the caliper housing, then match with the OE reference of the vehicle manufacturer (Mercedes-Benz, MAN, Volvo, Scania, DAF, Iveco) or brake system manufacturer (Wabco, Knorr-Bremse, Bendix). Be sure to confirm the right/left side difference, that a different caliper series may exist on different axles of the same vehicle, and the kit scope.
Where should I find torque and clearance values after replacement?
Tightening torques and pad-disc clearance acceptance ranges differ between caliper series, so working from a general value is not correct. The vehicle's current OE service manual is always authoritative, and tightening should be done with a torque wrench. Clearance adjustment should be done after installation, chamber stroke measured, and rim heating checked with a low-speed brake test.
Should the caliper mechanism repair kit be applied to only one side or to both sides of the axle?
Even if the failure appears on only one side, it is recommended that repair be evaluated on both sides of the axle together. One-sided repair can cause the two calipers on the axle to respond differently and disrupt brake balance, which returns as uneven pad wear and pulling. The bellows, adjustment function, and clearance checks of the opposite caliper should be done in the same session, and the decision made based on the results.