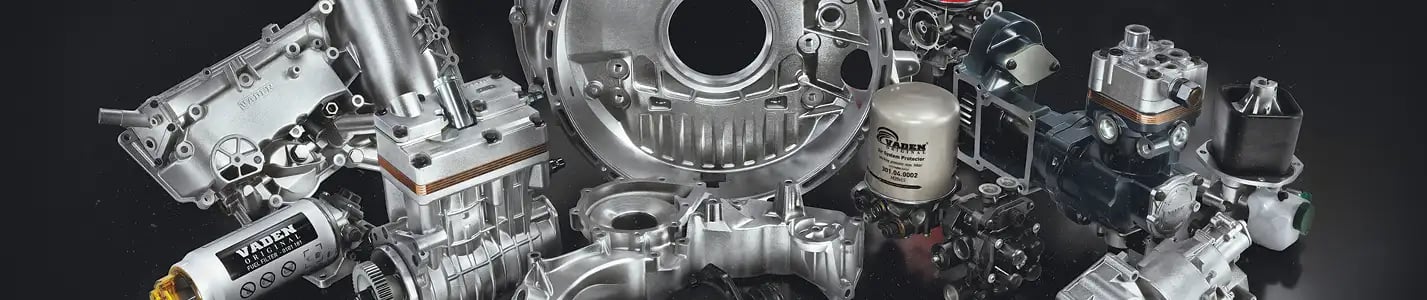
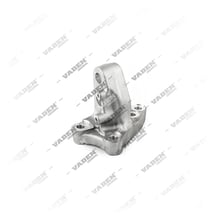
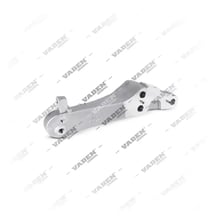
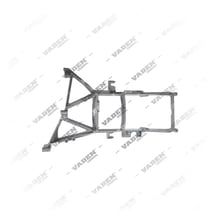
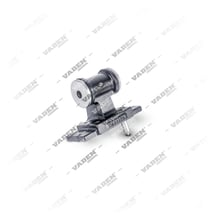
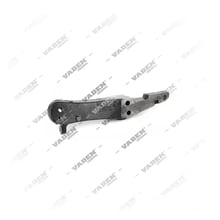
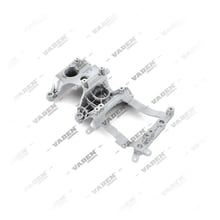
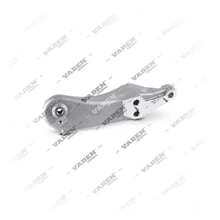
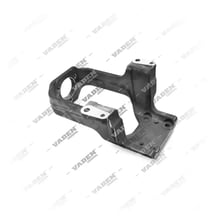
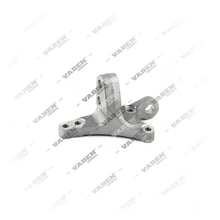
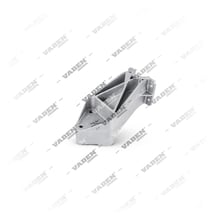
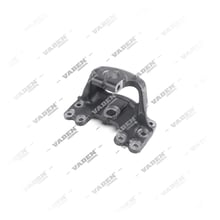
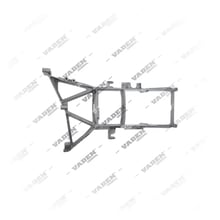
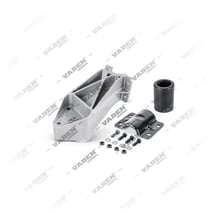
What are the functions of the Support Bracket?
The main functions of the chassis mounting bracket on the vehicle are:
- Fastening: Holds the chassis-mounted component (tank, pipe, suspension part, etc.) firmly and free of vibration.
- Load transfer: Safely transmits the static weight of the component and the dynamic/shock loads generated during driving into the frame rail.
- Positioning: Keeps the attached part at the correct angle and distance relative to the vehicle, preventing interference with neighboring systems (brake lines, wiring harness, exhaust).
- Vibration damping support: On some bracket types, works together with rubber pads or bushings to reduce road-induced vibration transmitted to the component.
- Serviceability: The bolted connection allows the related component to be removed and reinstalled during maintenance.
What are the symptoms of Support Bracket failure?
A problem in the chassis mounting bracket usually shows visual and audible symptoms. The most common findings are: cracks or breaks in the bracket body, especially fatigue marks around the weld seam; bolt holes becoming oval-shaped (elongated) and the connection loosening; a metallic knocking or rattling noise from the chassis area while the vehicle is moving; abnormal oscillation or position shift of the component the bracket carries (e.g. an air tank or suspension part); and thinning of the material cross-section with loss of strength due to corrosion. If these symptoms are ignored, the bracket can fail completely, the attached component can separate from the chassis, and this poses a serious risk to both the vehicle and traffic safety.
How is the Support Bracket inspected?
Inspection starts with a visual check for cracks, deformation, excessive corrosion or weld seam separation on the bracket surface. Next, all mounting bolts are checked with a torque wrench against the value specified by the manufacturer; any loose or missing bolt is replaced. Play between the bracket and the component it carries is tested by hand — any movement indicates a loose connection or worn bushing/pad. Detailed inspection from underneath the chassis while the vehicle is on a ramp or lift is important for detecting cracks not visible from above; in suspect areas, magnetic particle or dye penetrant testing can reveal micro-cracks as well. Repeating this check regularly at scheduled maintenance intervals is recommended.
What should be considered when replacing it?
Before replacement, the component the bracket carries (tank, pipe, suspension part, etc.) must be safely supported or removed; weight should never be left hanging on the bracket. When removing the old bolts and any rubber pads/bushings, care must be taken not to deform the chassis holes. When fitting the new bracket, mounting surfaces should be cleaned of rust and dirt, and an anti-corrosion coating applied if needed. Bolts must be tightened to the manufacturer-specified torque in the correct sequence; over-tightening can crack the bracket body, while under-tightening leads to loosening from vibration. Bracket alignment on the chassis should be verified so the component seats in the correct position. A re-torque check after a short test drive following replacement is recommended.
How to choose the right Support Bracket?
Correct bracket selection should be based on the vehicle chassis number, model year and the mounting point of the relevant component; the bracket should be selected by OE number rather than brand, since visually similar parts can have different hole spacing or material thickness. The table below summarizes the key criteria to consider during selection.
Chassis Mounting Bracket selection criteria| Criterion | Description |
|---|
| OE number | Exact match with the reference number specified in the vehicle manufacturer's parts catalog |
| Material | Forged or cast steel; thickness and strength class suited to the load carried |
| Hole configuration | Number, diameter and spacing of bolt holes matching the chassis exactly |
| Corrosion protection | Quality of galvanizing or electrostatic powder coating |
| Load capacity | Design class suited to the weight and dynamic loading of the attached component |
Maintenance and service life
Chassis mounting brackets generally have a long service life, roughly in line with the vehicle body itself; however, in areas exposed to corrosion (winter road salt, coastal climates, dusty/muddy routes) the service life can shorten noticeably. Regular visual inspection of the bracket and bolt assembly, torque verification, and early detection of corrosion signs are recommended at scheduled maintenance. Brackets that have been overloaded or impacted in an accident may have lost strength even without visible damage, so replacement is preferred in such cases. Torque and maintenance intervals from the vehicle's current OE service manual should be followed.
VADEN Support Bracket
VADEN offers durable, OE-tolerance chassis mounting brackets for the heavy commercial vehicle frame line. The range is manufactured with the correct hole configuration and corrosion protection for different makes and models, providing a reliable service solution matched by OE number.
Frequently Asked Questions (FAQ)
Can the vehicle still be driven if a chassis mounting bracket is broken?
A broken bracket risks the attached component separating from the chassis, so the vehicle should be stopped safely and not driven until the bracket is replaced.
What torque should the bolts between the bracket and the component be tightened to?
Torque values vary by bracket type and component; the vehicle's current OE service manual is the authoritative source for the exact value.
Can a corroded bracket be cleaned and reused?
Surface rust can be cleaned and the protective coating renewed, but if the cross-section is thinned or cracked the bracket must be replaced.
How long does bracket replacement take?
It depends on accessibility and the component carried; simple brackets take about 30-60 minutes, while complex assemblies can take longer.
Are VADEN brackets a direct match for the original OE bracket?
VADEN brackets are manufactured using the OE number as reference and match in hole configuration and material properties.
Related technical guide: Chassis Mounting Bracket: Failure, Replacement & Care Guide
Related technical guide: Chassis Mounting Bracket: Crack, Loosening and Replacement Guide